Snowshoeing Technique
Looking to try snowshoeing? We've put together some tips to help you stay upright while creating your own path. But don't worry if you face plant, you're not alone, we included tips for getting back up!
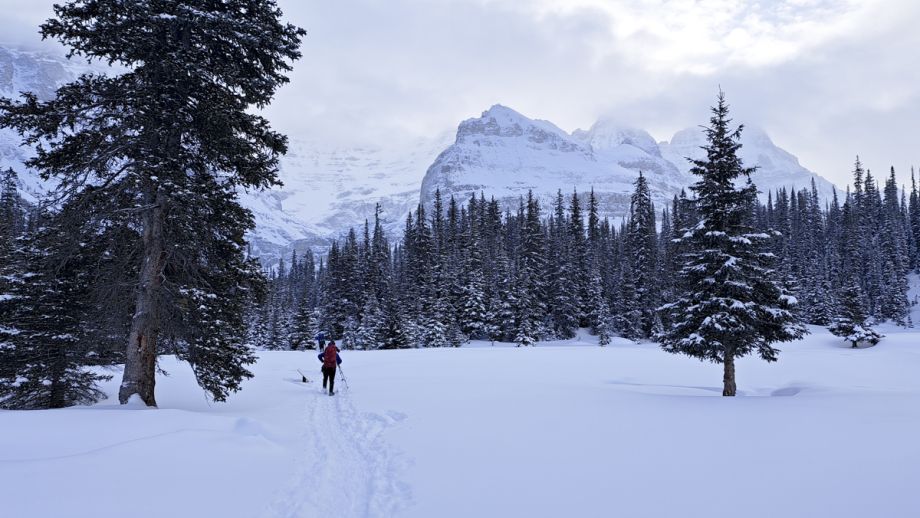
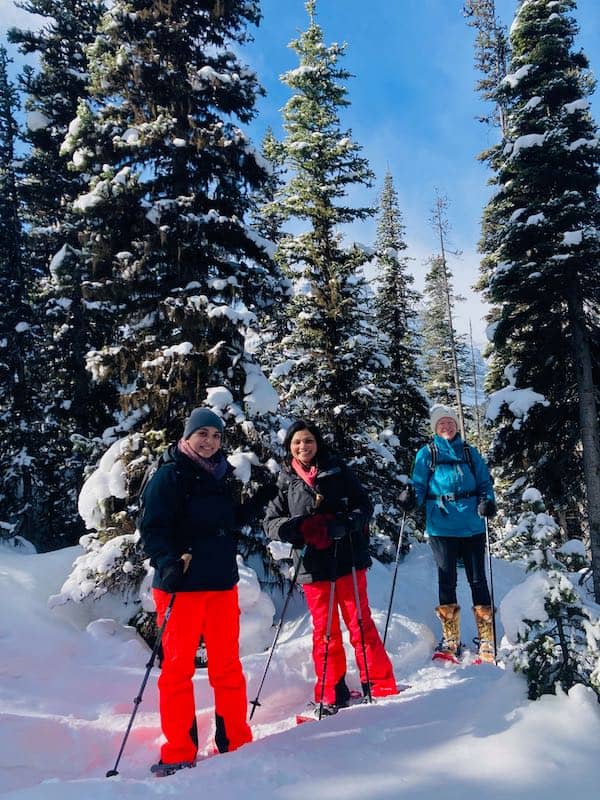
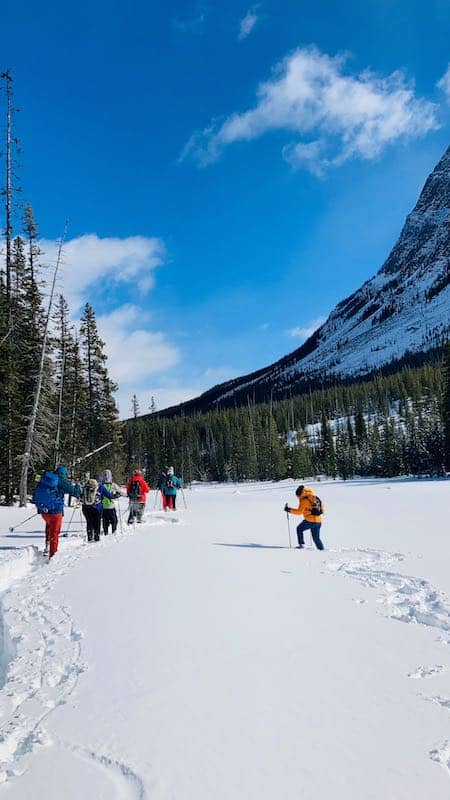
Snowshoeing on Flat Terrain
This will be intuitive. The main tip is to walk like you’re riding a horse. Your stride will be wider than normal. This will prevent you from stepping on the side of your snowshoes. Expect your hip and groin muscles to be a little sore the first couple times you snowshoe.
Pro Trip: Don’t stress if the snowshoes strike against one another as you walk. You want to avoid stepping on your snowshoe so you don’t trip yourself.
"Walk like your riding a horse!"
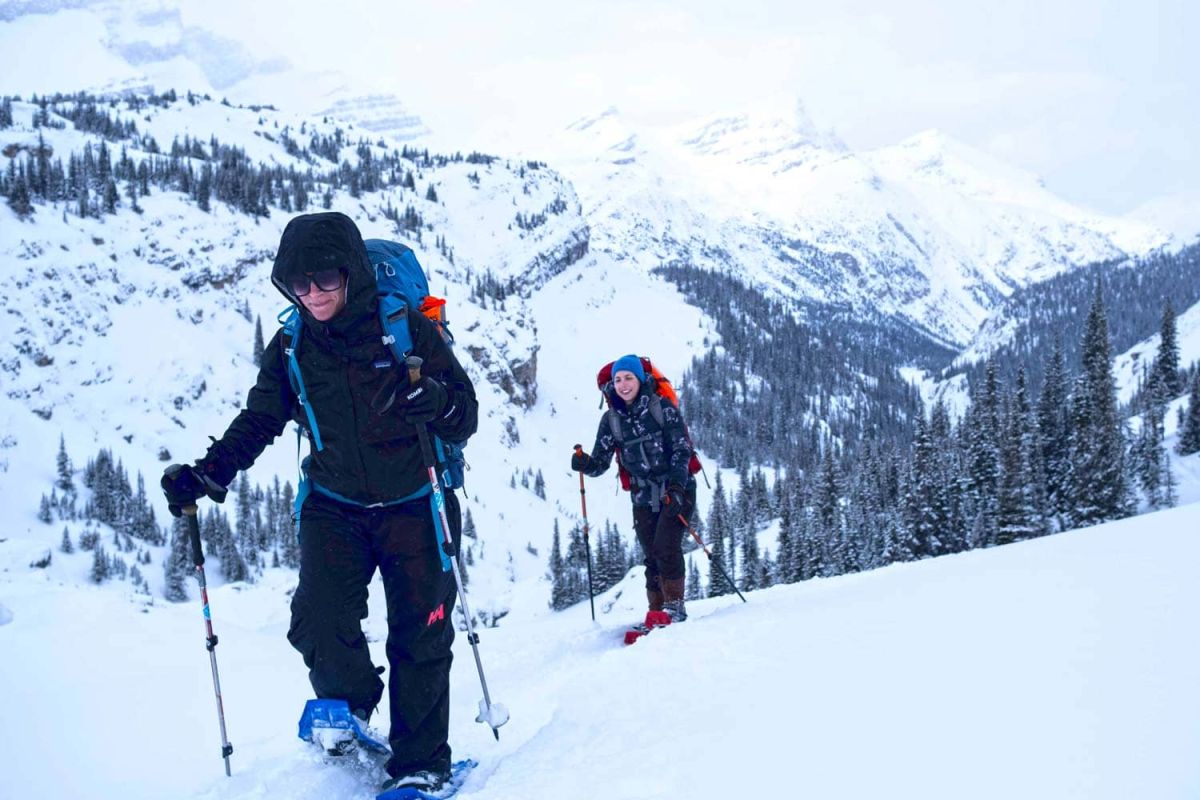
Snowshoeing Up Hill
There are two main techniques dependent on the snow conditions:
In soft snow kick your toes into the snow. This will create a staircase. In “powder” or fluffy snow kick multiple times to build a solid enough surface to stand on.
On hard pack snow, stomp your foot onto the snow like your squishing ants. This will plant the crampon firmly into the snow, providing the traction you need.
Snowshoeing Downhill
When going downhill, bend your knees, keeping them relaxed. Stick your butt out with your weight centered on your feet. Take small steps, plating your heel first. If you start to slip let your body go with it. If you get nervous you can always sit down.
Pro Trip: Sticking your butt out will also help take the pressure off your knees!
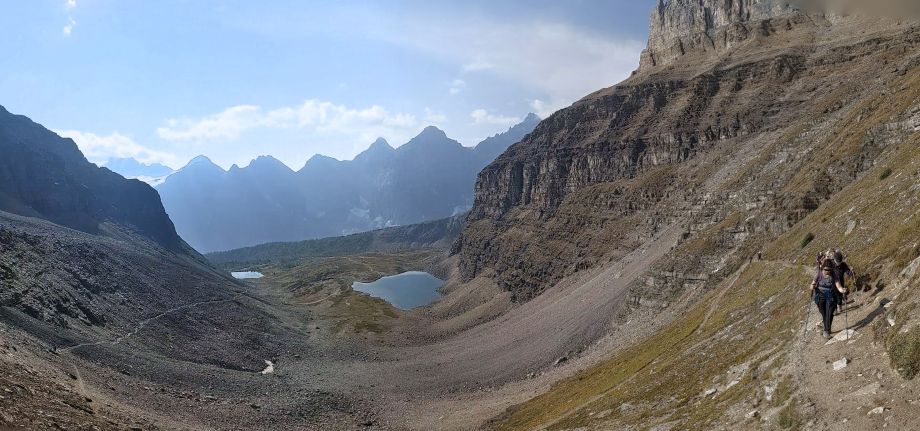
Traversing on Snowshoes
This is a common technique to avoid travelling on an overly steep section of terrain. It is also called “side-hilling.” In fluffy snow push the uphill side of your snowshoe into the slope creating a slope as you move. The hardest part is keeping your balance. Weighting the uphill pole will help keep your balance.
If the snow is hard packed, let your ankles roll with the terrain allowing the entire bottom of the snowshoe contact the slope. This will ensure the crampons are able to “bite” into the snow, keeping you upright.
Want to learn these techniques under the guidance of a professional? Sign up for our Snowshoe Fitness Series
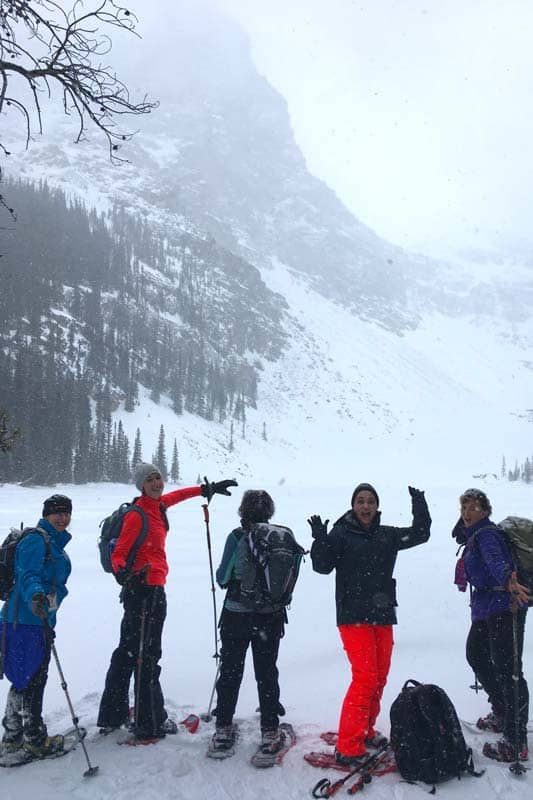
"It is inevitable that you will fall"
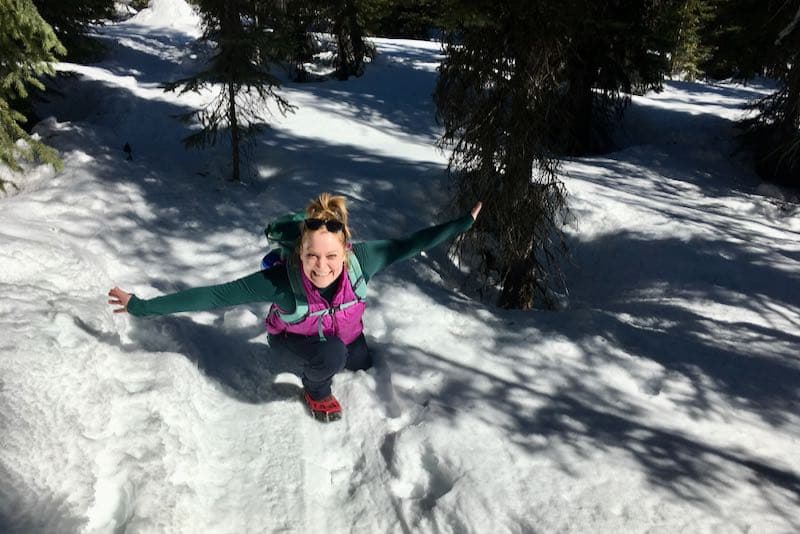
Getting Back Up After a Snowshoeing Fall
It is inevitable that you will fall at some point while snowshoeing. We’ve all been there! Set yourself up for success
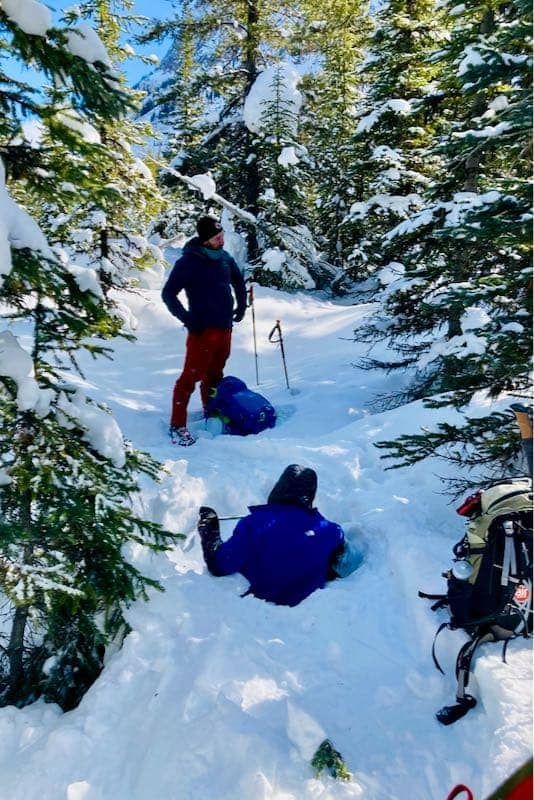
If you fall when travelling downhill
- Take your wrist out of the wrist straps on your poles
- Shift yourself around so your head is uphill
- Bring your knees close to your chest
- Press off the slope to stand up
Pro Tip: If you’re struggling face the slope and push yourself up on your knees. Then shift your weight onto your snowshoes and stand tall
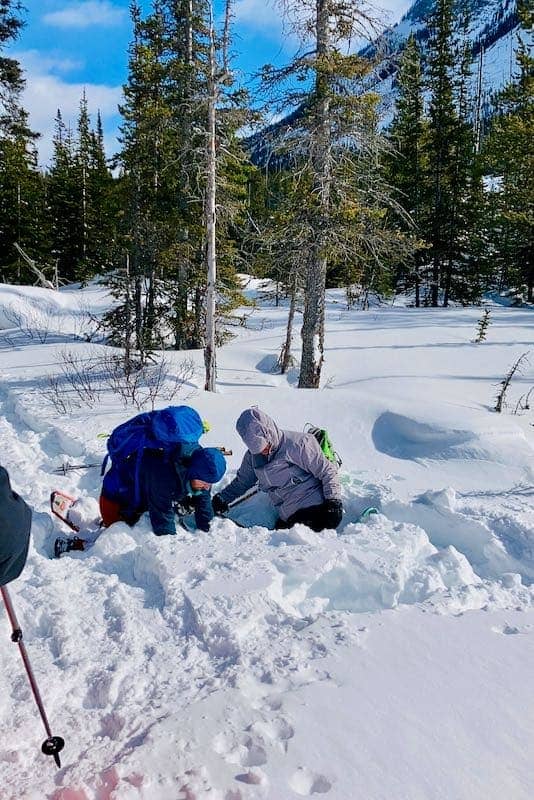
If you fall in deep snow
- Take your wrists out of the wrist straps on the poles
- Place them under your chest in an “x” formation
- Press up on the middle of the “X” to push yourself upright
If you fall without poles
- Using the largest surface area, press your hands down into the snow
- You will have created two holes
- Fill the holes with snow
- Press into the holes again
- Repeat until you’ve created a solid platform
Pro Trip: Brush the snow off of your mitts and clothes as soon as your upright. This will prevent the snow melting from your body heat and will keep you dry!
Be Avalanche Aware
Snowshoeing is not like hiking, you need to be more aware of the terrain around you. Many of the summer hiking trails pass through avalanche terrain. Sometimes the danger is obvious. Other times, hidden, the danger comes from the terrain overhead.
Avalanches are a real risk when snowshoeing! Know before you go! Take courses, read forecasts, educate yourself! Don’t become a statistic!
For more information on how to know where it is safe to explore on snowshoes check out our beginners guide to snowshoeing. Needing to improve on your layering system? Find out how our lead guide, Jenna, dresses for the cold weather.
Fresh off the Press
Most Popular Stories
Tags
Spread the Love - Share this article on your socials...