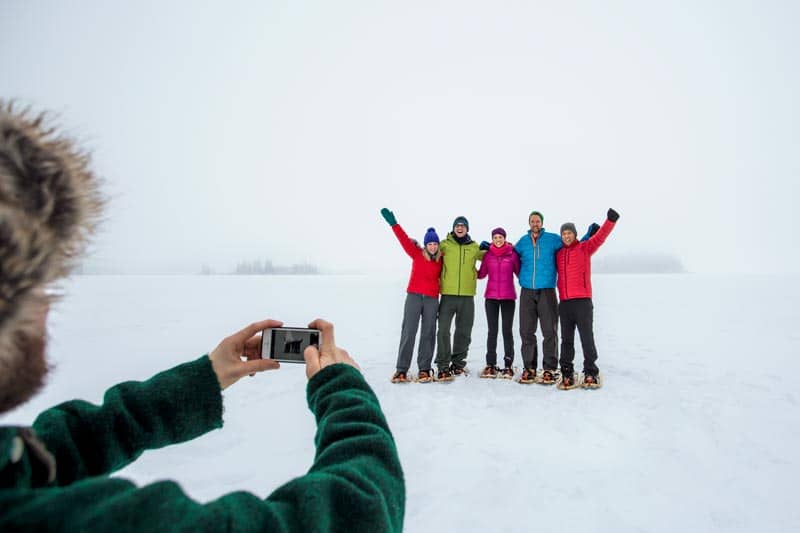
A Beginners Guide to Snowshoeing

A Beginners Guide to Snowshoeing
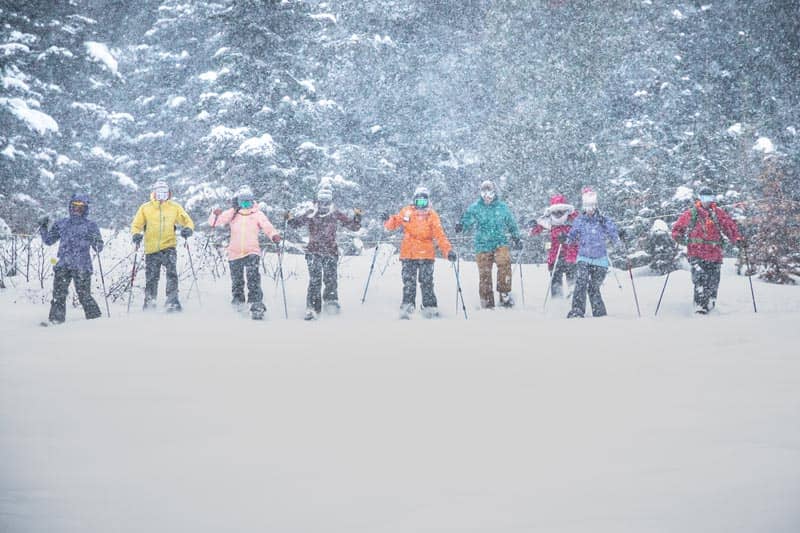
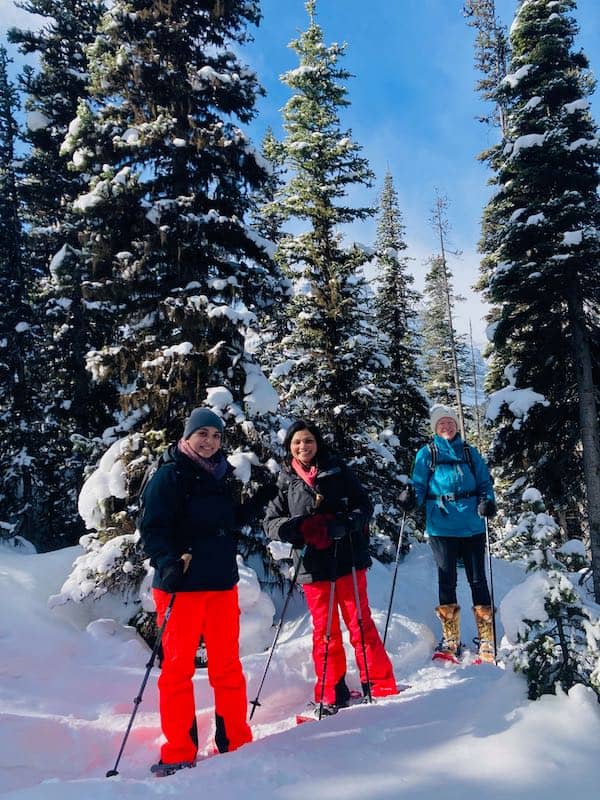
Winter is here. Every year we adapt. Here at Get Outside our Fall Hiking for Fitness series became a winter fitness series. Everyone handled the swift temperature changes and we had some spectacular hikes!
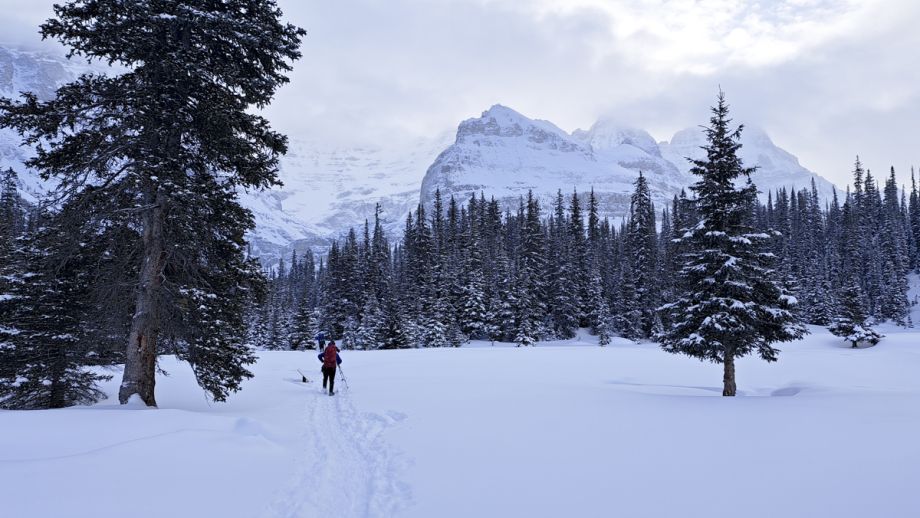
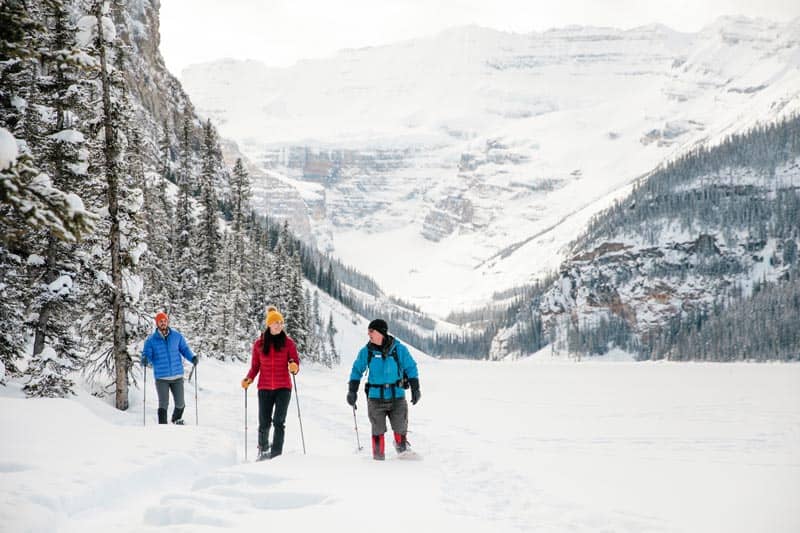
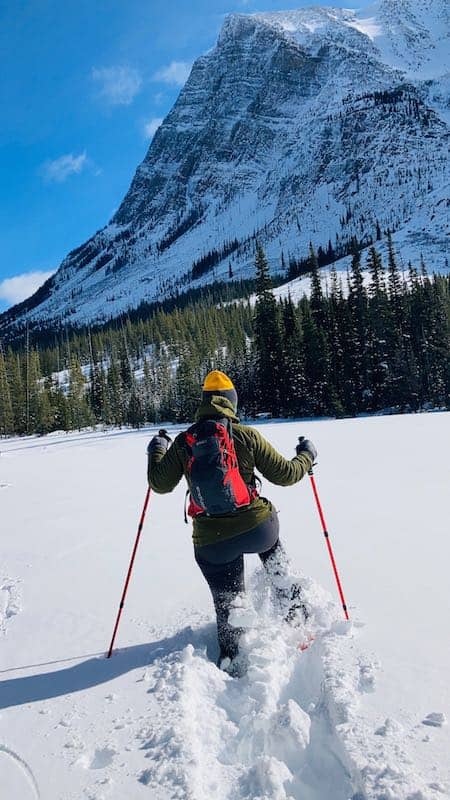
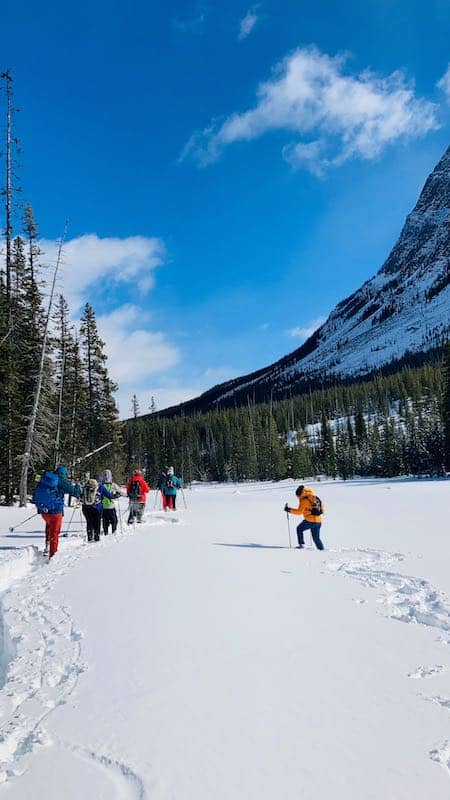
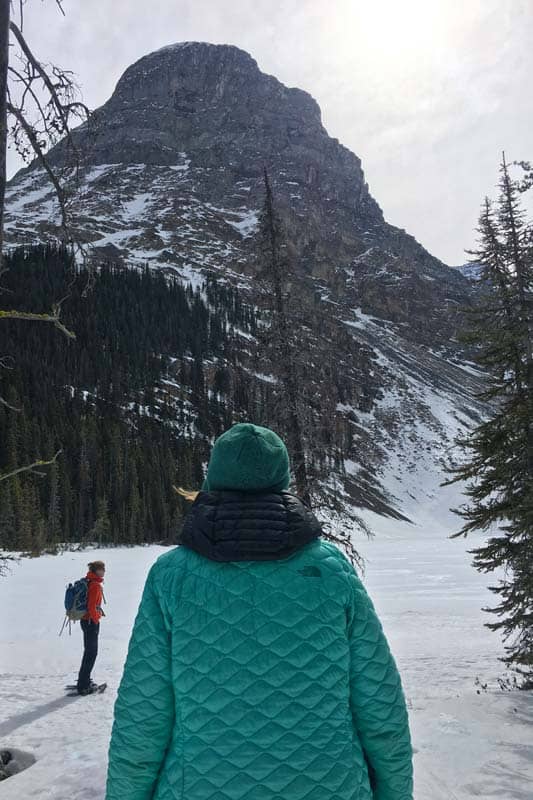
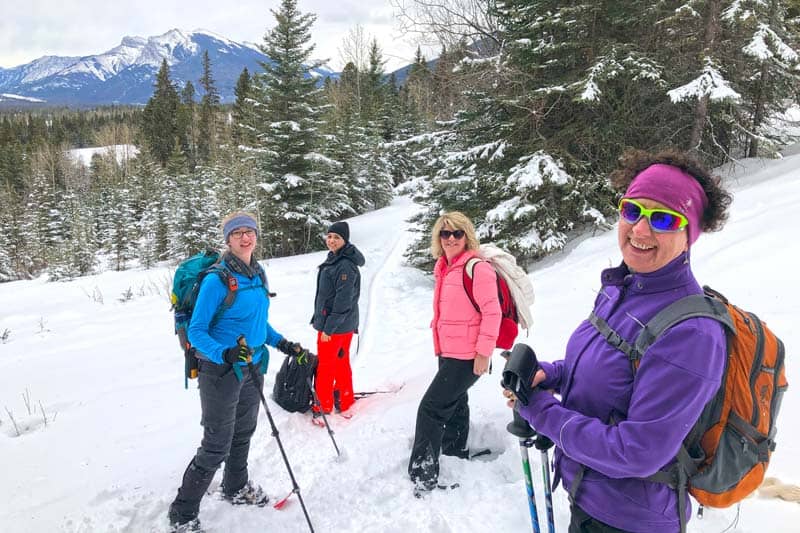
With the snow accumulating we are no longer able to walk with ease along the trails. But no need to hang it up for the season. There are so many options for adventure in the winter. Snowshoeing is a great way to stay in shape during the winter. If you can walk, you can snowshoe!
It only requires a few simple techniques. You’ll need to learn the best snowshoes for you, the best way to wear them, how to go up and down hills, traverse slopes, use your poles, and how to get up after you fall in deep snow. Join our Snowshoe for Fitness series to learn these essential skills or continue to read below.
"No need to hang it up for the season!"
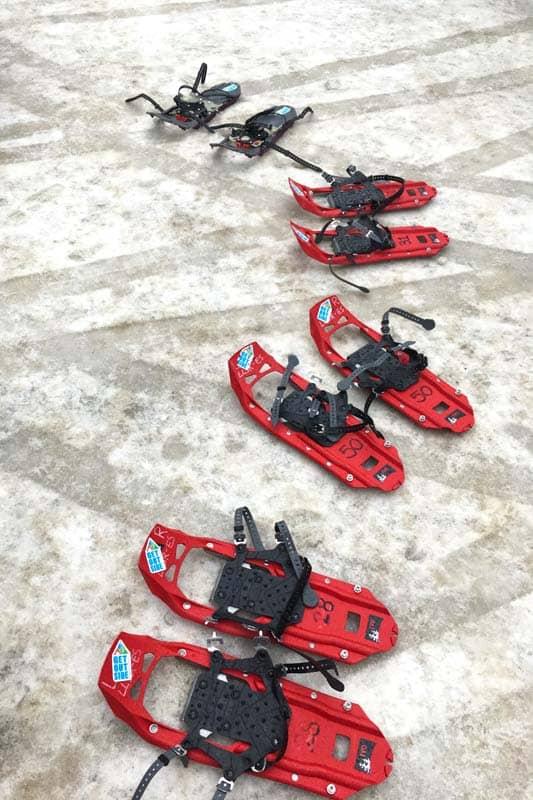
How to Choose Snowshoes?
When getting started we recommend renting. Renting allows you to try various styles to see what meets your needs. There are three key things to consider when choosing the best snowshoes:
- Largest recommended load (remember to include your weight + your pack weight).
- The type of snow you’ll be moving across
- The type of terrain you plan to explore
Snowshoes are designed for different loads. You’ll want to have a pair designed to support your weight + your pack weight and a buffer. The amount of buffer will depend on the type of snow you’ll be moving across.
If you plan to explore a less popular area, off trail, or in dry, fluffy snow you’ll want a larger (longer) pair of snowshoes. Choose a pair rated for a higher load than your weight + your pack weight to ensure the right amount of flotation. But, if you’ll be on hard-packed snowshoe trails you can go with a smaller size.
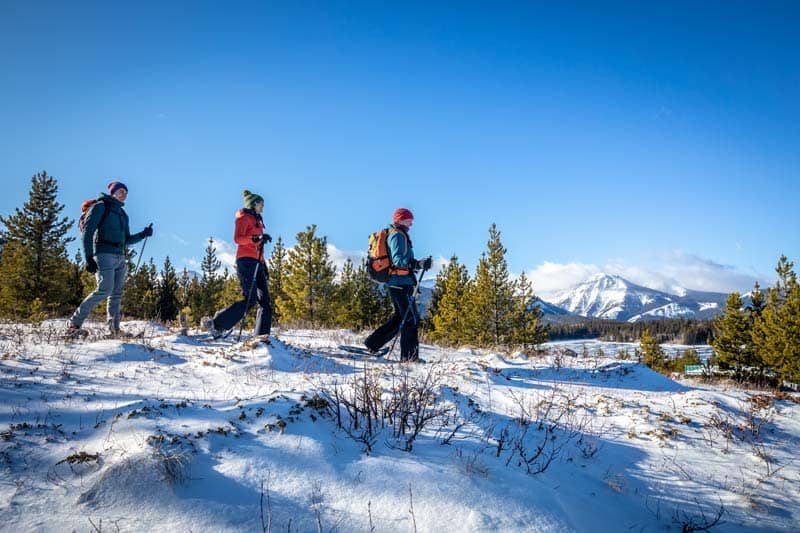
Now that you’ve decided on the size of snowshoe you need to decide what terrain you want to explore. Flat terrain snowshoes will have a simple binding system and less traction features. The frame is typically made from a tube. These are great choices for Hogarth Lakes or Troll Falls. If you plan to explore rolling terrain, like Chester Lake or Rawson Lake, a snowshoe with an aggressive crampon for traction is essential. The bindings will also accept beefier boots. The frame of this style of snowshoe will also provide more traction.
Using snowshoes designed for flat terrain in rolling terrain will be frustrating. Flat terrain snowshoes will slide on hills, acting more like skis, providing minimal traction. This will make it challenging to travel up or down hill in a safe manner.
For more details on how to safely go up or downhill on snowshoes or even how to get up from a fall checkout this blog post.
What Footwear to Wear Snowshoeing
Pro tip: Carry an extra pair of socks that you can change into at lunch
For more tips and tricks on how to prepare for snowshoeing including layering, hydration, and navigation check out our other blog post
"At -30 a blister can become an emergency"
Dress for the Activity
Colder temperatures bring a higher risk. At -30 a blister can become an emergency. Colder temps also make it harder to regulate your own body temperature. When adventuring outside It’s important that you dress in layers, giving you the flexibility to adjust to moments of high or low output. Your base layers should be wool based or synthetic. These materials will pull your sweat away from your body and dry quickly, keeping you dry and warm. Next add on a durable hiking pant with gaiters, or gortex pants pairs with a soft shell jacket. The next step would be to add an insulative jacket. Finally, when heading out make sure to pack a big “puffy” jacket. Having a warm jacket to put on when you stop is crucial. You will cool off quickly when breaking for a snack or lunch. In the event of an emergency, those extra warm layers could be a lifesaver!
It’s important to note that each layer on its own is not warm enough; however, all of the layers together will keep you comfortable in all situations. Checkout our video and blog post providing more details on how to dress in layers.
Know Where it is Safe to Explore
Anytime snow and steep slopes are combined, avalanche potential exists. If you wish to travel through backcountry in the winter you must accept that you are taking a risk. You need to understand these risks before taking them. The Mountain National Parks have resources to help you choose safe places to explore. The main resource to check out is the Avalanche Terrain Exposure Scale (ATES).
Traditional models for rating avalanche danger are based on the stability of snow, which changes regularly with the weather – from day to day, or even hour to hour. Terrain however, doesn't change much. The angle and shape of the ground, or the number of established avalanche paths won't vary from day to day. By using the ATES, you can begin to measure your skills, experience and risk tolerance against the landscapes through which you choose to travel.
Simple terrain is usually low avalanche risk, ideal for gaining backcountry experience in the winter. Check out this webpage for a list of areas classified as Simple terrain. Be aware, simple terrain areas may not be completely free of avalanche risk. On days when the avalanche forecast is “high” or “extreme” we recommend sticking to flat terrain away from potential avalanche run out zones or even checking out snowshoeing routes at your local ski hill.
Be Avalanche Aware
Snowshoeing is not like hiking, you need to be more aware of the terrain around you. Many of the summer hiking trails pass through avalanche terrain. Sometimes the danger is obvious. Other times, hidden, the danger comes from the terrain overhead.
Avalanches are a real risk when snowshoeing! Know before you go! Take on online course or one in person, read forecasts, educate yourself! Don’t become a statistic!
Snowshoeing is a fantastic way to enjoy winter. It is simple, offers solitude, and is an accessible activity. If you can walk, you can snowshoe. But it is important to stay within the limits of your own knowledge and keep safety at the forefront of your mind. Start with easy trails and work up from there. Some ski hills have snowshoe trail which will help navigate the avalanche terrain. Or take a snowshoeing course.
Other Posts of Interest
Fresh off the Press
Most Popular Stories
Tags
Spread the Love - Share this article on your socials...