Beginner's Guide to Backpacking

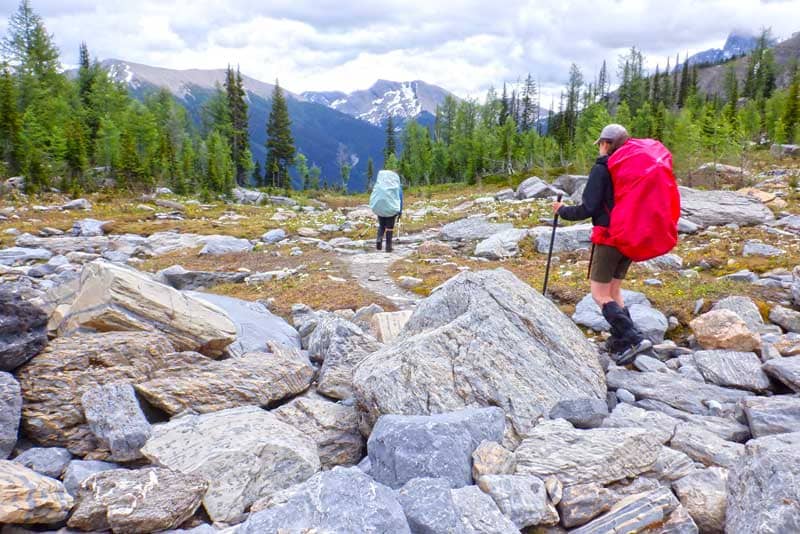
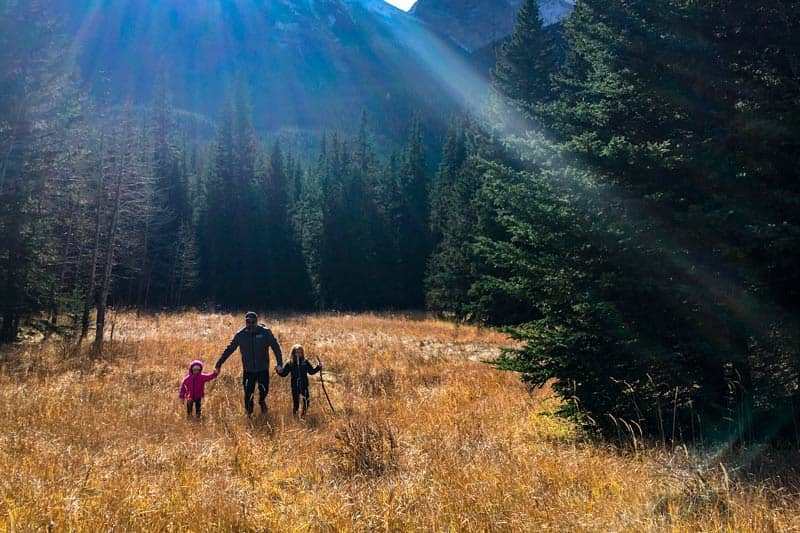
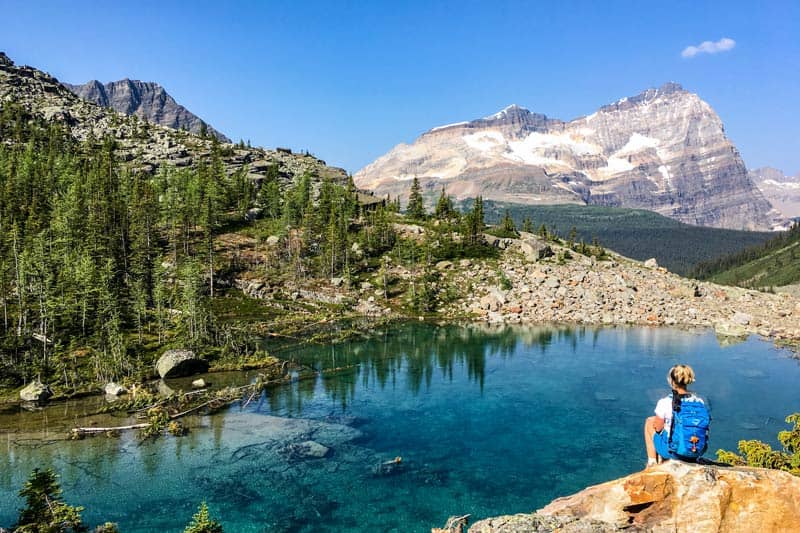
Here at Get Outside we offer guided backpacking and hiking trips and we want to share 8 key pieces of advice to help you have a successful backpacking season. Remember we were all beginners at some point!
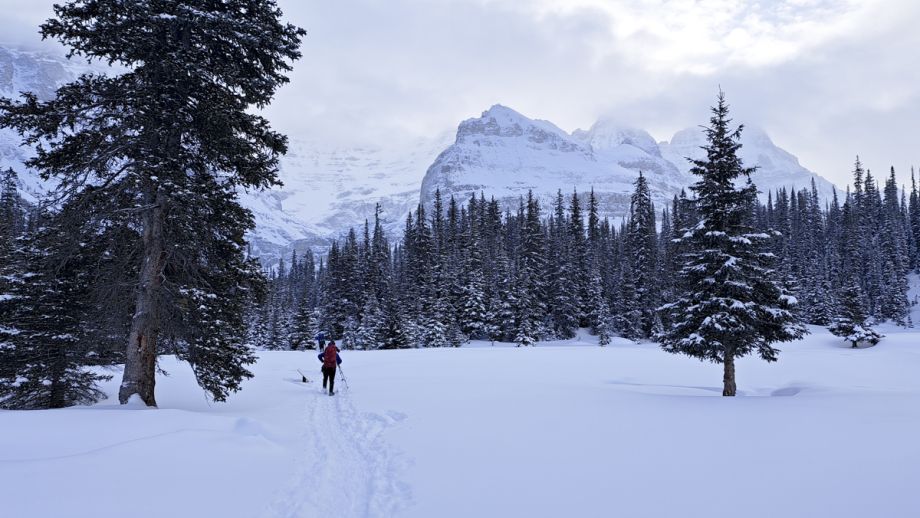
"We were all beginners at one point"
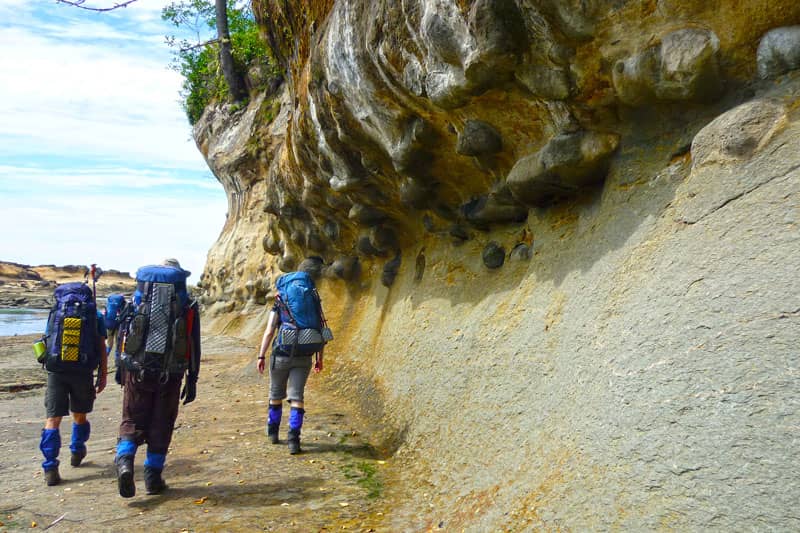
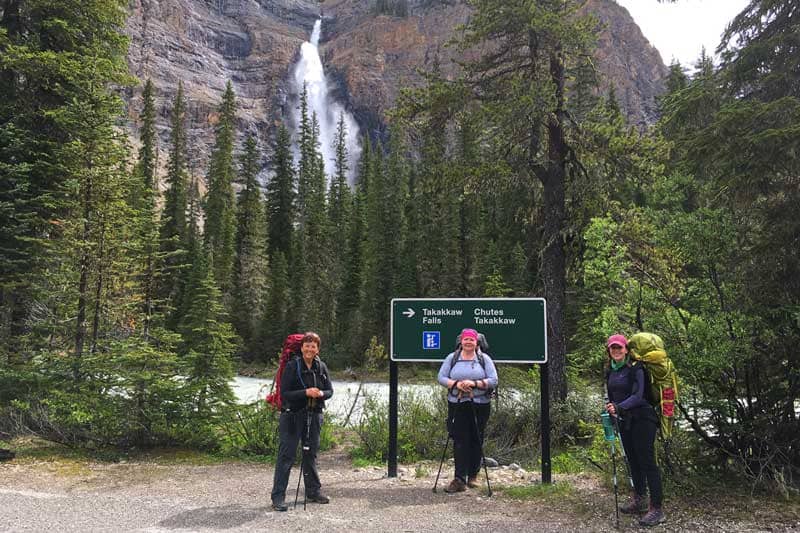
1 - Pick a Destination
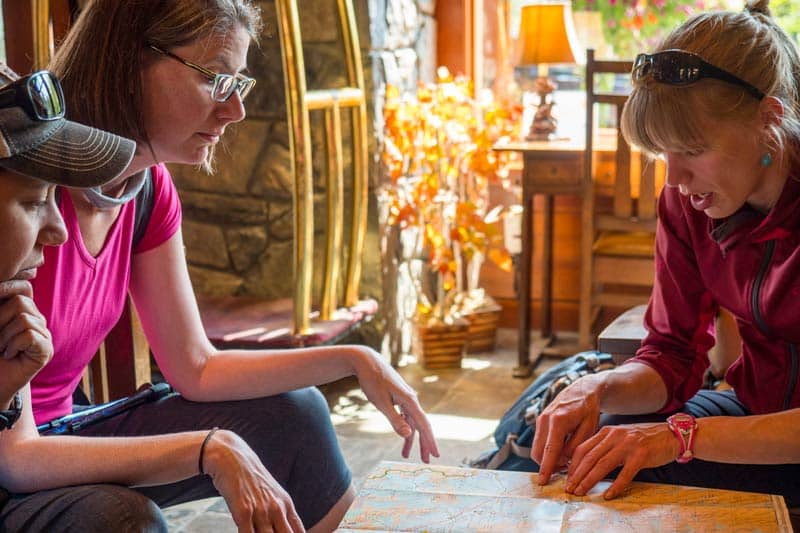
When heading out for the first time pick a campsite that is closer to the trailhead . A shorter distance will free up the mental ability to learn and be curious. But don’t forget about the elevation gain when picking a site. A campsite 6km and 500m of elevation gain is going to be harder to reach than the same distance with 100m elevation. Not sure how to tell? Take a navigation course. We'd love to teach you how to predict how long it will take you to hike to a location! But Jenna, how do I even see where the campsites are? No problem! Gem Trek maps are a great resource to look at. The campsites are marked and the maps often have the km’s marked on the trails.
Another tip to help cut stress is to start early in the day. Give yourself lots of time so you don’t have to rush. Stop, smell the flowers, sit by the stream, and enjoy being outside. That’s why you’re out here isn’t it? To reconnect with nature? It’s hard to do that if you are rushing to make camp before it gets dark. .
2 - Make a Reservation
Alright, now you have your campsite picked. You’ll need to ensure it’s available to book. Learn the full details on how to make a campsite reservation in Banff National Park. You can make reservation in BC and Alberta Parks by going to these links. Some provinces require you to be a resident of thier province in order to make a reservation.
3 - Pack Your Gear
There is a reason why the nickname for bear bells is dinner bells. They don’t work. Take note the next time you’re on a trail. How close is the person to you before you can hear the bell? Too close if they were a 500lbs grizzly. Leave the bear bells behind and bring bear spray next time.
Finally, before you head out test your gear. Pretend you’re five again and set your tent up in your living room. Better yet, cook a meal at home on your stove. This way you’ll know when you’re 10km back in the woods that your gear is going to work. Nothing sucks more than cold uncooked pasta!
We've also put together gear lists for both seasons to help you ensure you've packed everything from your bowl to your favourite hiking shirt. Need some advice on how to layer your clothing for your hiking. No problem, we've got you covered.
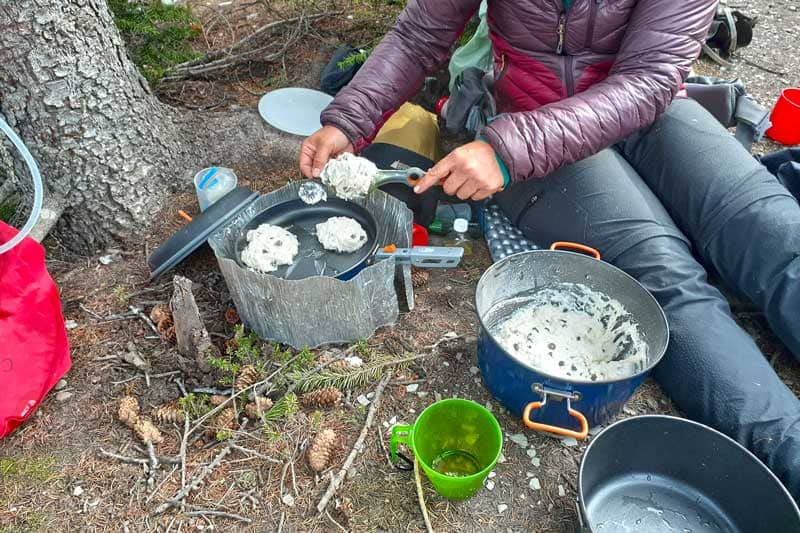
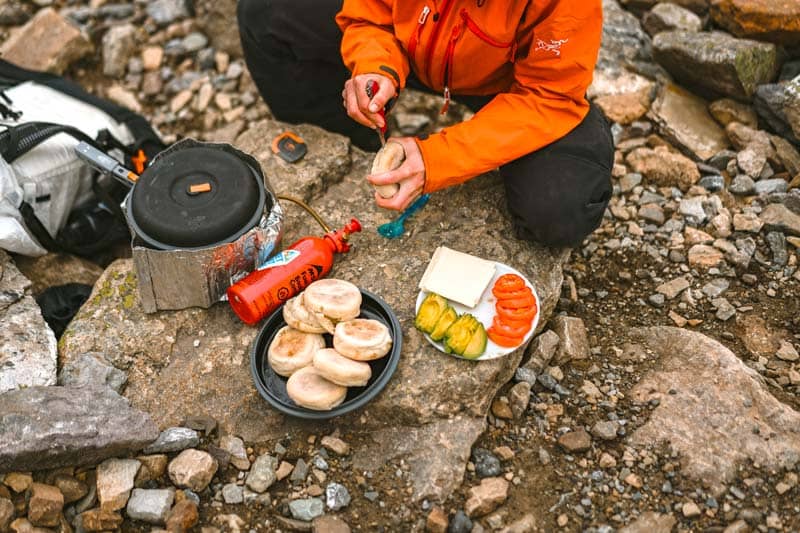
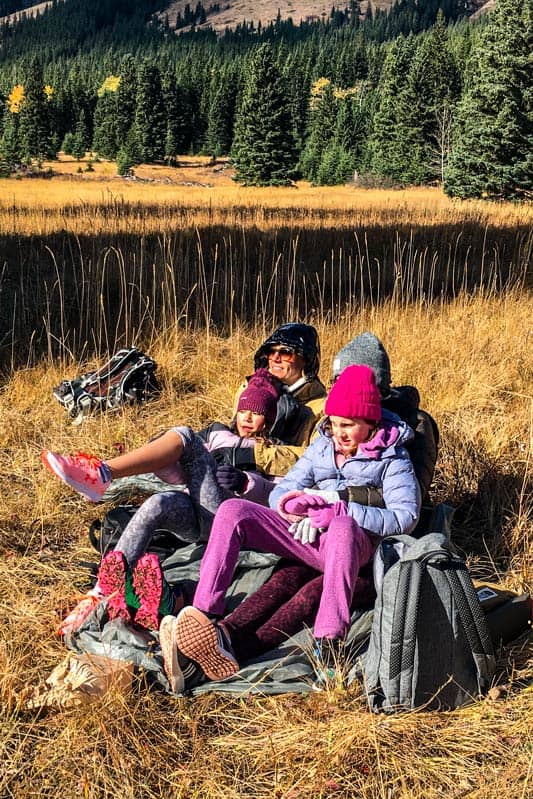
4 - Food Is Delicious
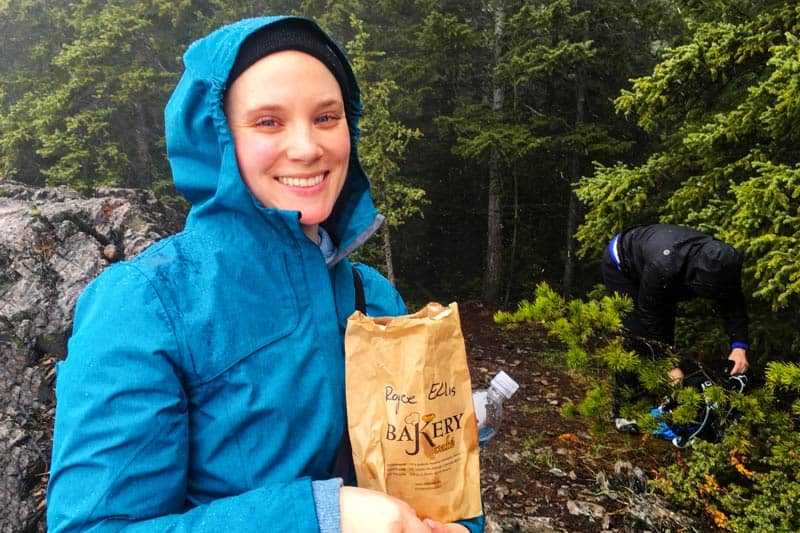
Debating what type of food to bring on a backpacking trip is common between hiking partners. We like win-win situations and recommend carrying fresh food for the first night and dehydrated food thereafter. If you’re concerned about how heavy your pack is, dehydrated food is a great way to keep your pack weight lower. We’ve put together an example meal plan including some of our favourite go-to meals. You can check it out here. Or, check out some of our recipes on our blog. Your taste buds will thank you.
5 - Safety First
Anytime you head into the backcountry it is important you let someone know where you are going and when you plan to return. Ensure this person is dependable and will be around when you are gone. If you don’t return when expected you’ll want someone to initiate the search party.
Technology has had impressive advancements over the last couple of years making emergency communication devices more affordable. There is no excuse anymore. If you’re heading into the backcountry often it’s a good investment. The two main brands are garmin and spot. Take a look and decide which options fits your needs. Having a device that allows two-way communication is invaluable, allowing direct contact with search and rescue.
Know how to find your way if your phone dies. Having a good understanding of topo maps and a compass is essential. I often hear stories of people who spent 12hours on a 4hour day hike because they got lost in the myriad of trails. Learn various ways to find north and invest in a navigation course.
Finally, one of the biggest safety concerns are animals. Know and practice animal safety. Not sure what do to if you were to meet a bear on the trail? Do you know how to avoid meeting a bear on the trail? Do you know how to use your bear spray? If you answered no, or you’re unsure WildSmart has some great resources for you to freshen up on your skills. You can even find great resources to help teach your kiddos animal safety
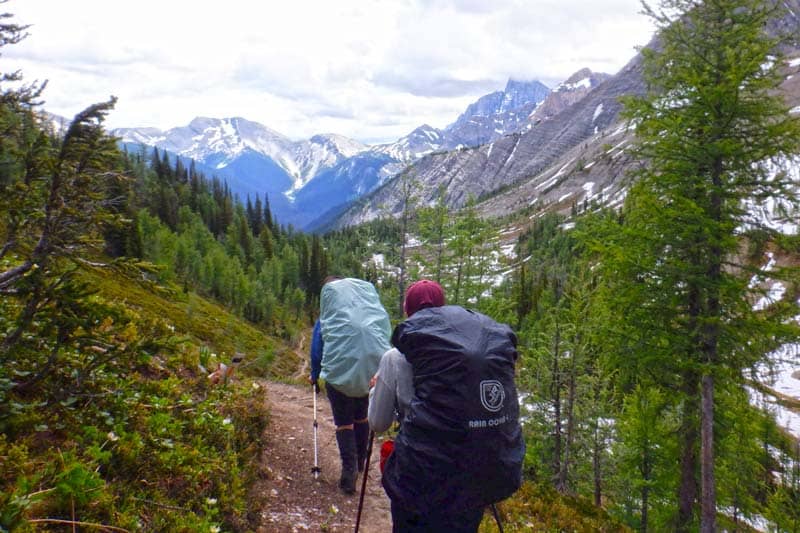
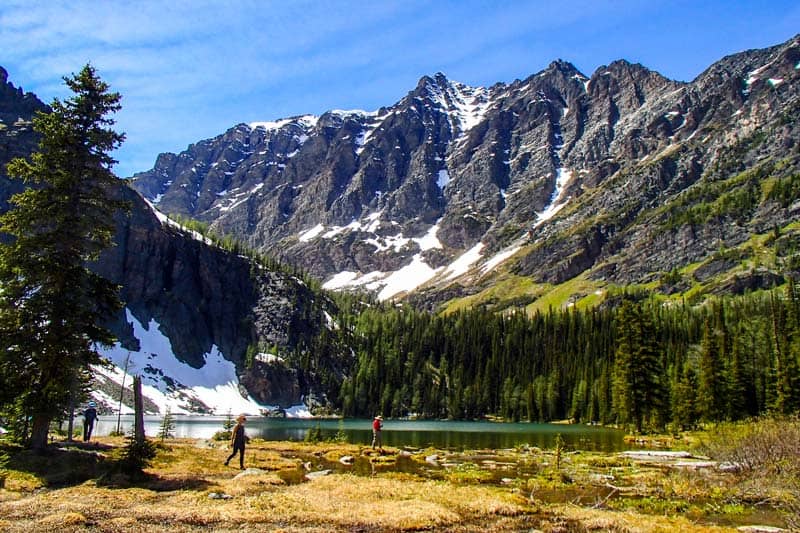
6 - Get Your Body Ready
One of the best ways to ensure your trip is enjoyable is to physically prepare for it. Spend time hiking hills around your home leading into your trip. As you get closer to your backpacking trip start carrying a progressively heavier pack on your hikes. Need some help and motivation? Try our 6-week training program that you can do at home. Let us know what you think of it. Or, wanting a more social experience Get Outside offers a 5-week hiking series to help people ease into hiking and stay injury free. It’s a tone of fun, but we are a bit biased
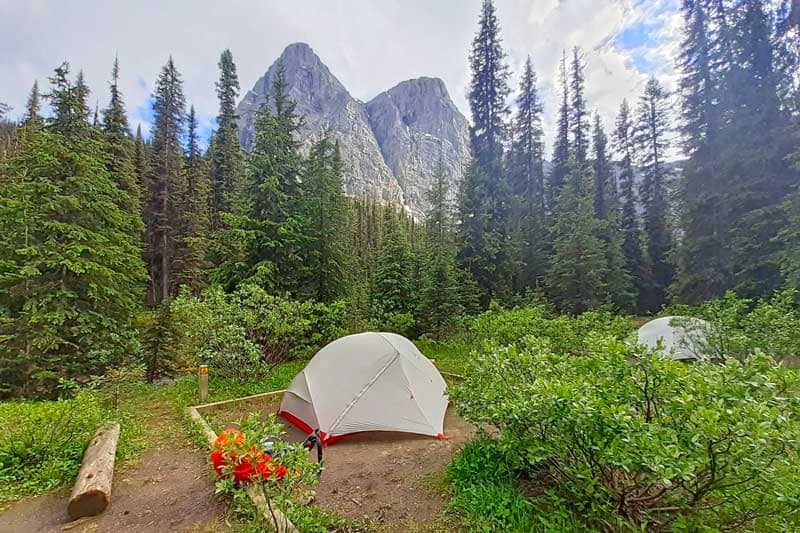
7 - Campsite Set up
Alright, so you’ve done all the prep work. You’re familiar with your gear, your body is ready to handle the load, and your friend knows where you’re going and when you’ll be back. Yes! It’s adventure time!
When you arrive at the campsite find the designated tent pads, the outhouse, and cooking area. Once you're orientated to your surroundings set up your tent. With your tent pitched take all your smelly items (food, wipes, sunscreen, toothpaste, etc.. You get the idea…anything with a smell to it) over to the cooking area and place in a bear bin or hang it. You never want to leave smelly items in your tent unattended. A clean campsite is a safe campsite, for you and the wildlife. Keep your area as clean and tidy as possible.
If the campsite you’re staying at allows fires there will be a metal fire pit in the cooking area. If one does not exist, it is illegal to build a fire ring out of rocks. Never build one close to your tent and never cook close to your tent. Fires and cooking are attractants for wildlife. You don't want bears poking around your tent. It is important that you only cook and have fires in designated areas.
8 - Leaving Camp
Today is a sad day. Your trip is over. I hope it has been a huge success and you are excited for your next backpacking adventure. Before you head back to civilization there are a couple key steps you need to take. This check list will help ensure we can all continue to explore the wilderness.
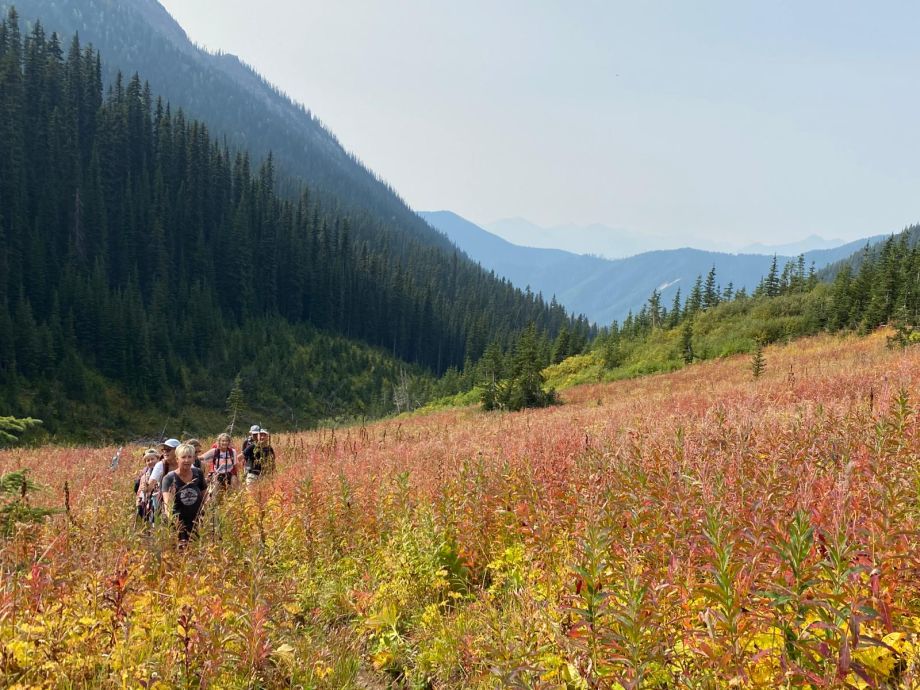
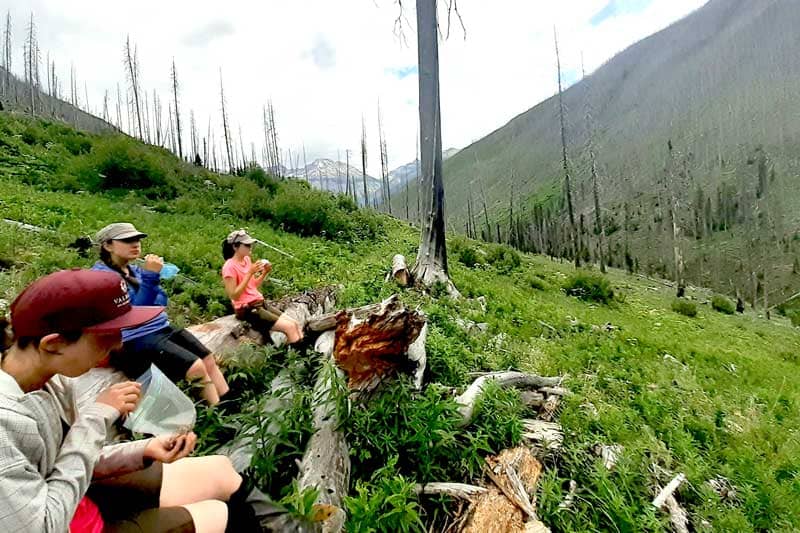
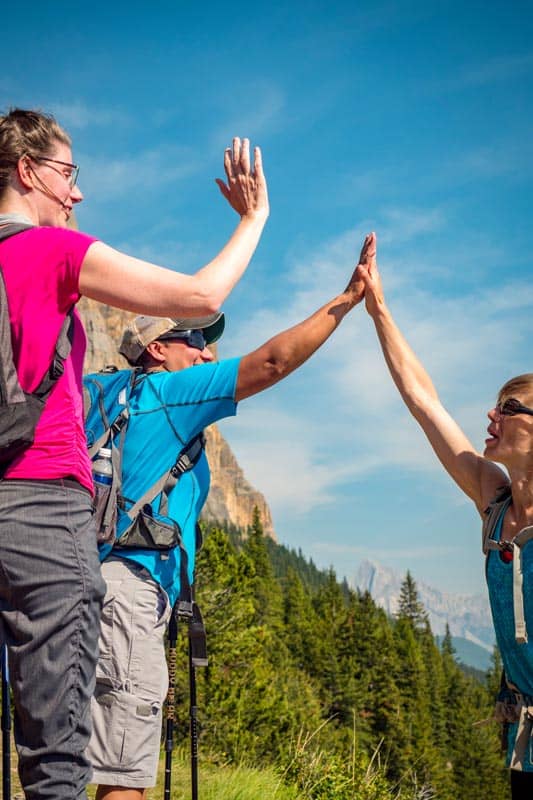
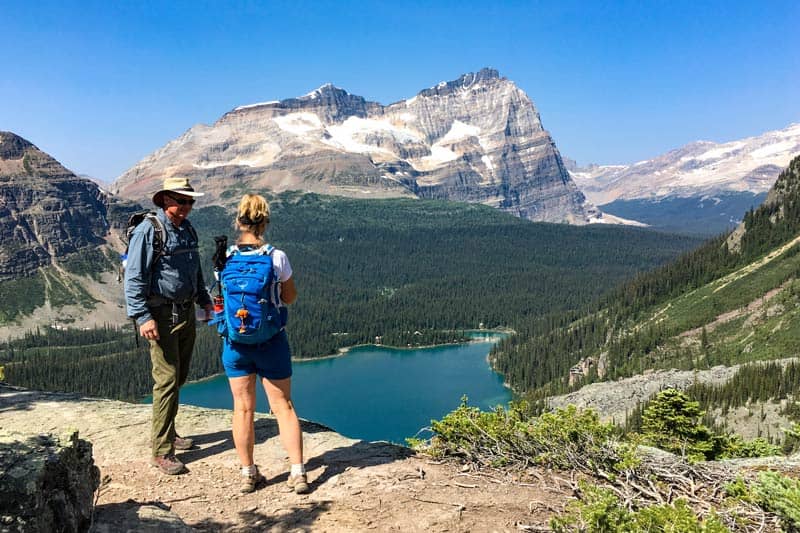
"Learn from an expereinced friend or join us!"
Feeling Overwhelmed?
There is no need! Don't feel like you have to try and learn everything on your own. Ask an experienced friend or join us on the Women’s Intro to Backpacking course. On our courses you will gain hands on experience, try new gear, and learn from an expert. There are many avenues to learn, don’t feel like you need to tackle it on your own. We have your back!
Other Posts of Interest
Fresh off the Press
Most Popular Stories
Tags
Spread the Love - Share this article on your socials...